Pages

Banner

Banner

2.10.2013

T-shirt Scarf #1

So I've been wanting to try out one of the many Tshirt scarf tutorials I've found on Pinterest.  I found this one was the most simple and quickest. So I quickly grabbed a white shirt that had been sitting in a pile of clothes in my closet that will never get worn.
 
I followed the steps in the tutuorial by:
  • First cutting the shirt below the armpits (straight across)
  • Then cut the bottom hem off making a big tube
  • I cut approx. 1 inch strips across on the fold from one end to the other, stopping about 2 inches from the other folded end
  • You then pull the ends of each strip to stretch the fabric out
  • Gather it all together at the joined end and take a small piece of the cut off hem to tie around and secure it.
Super easy and quick!!  Here's my photos:
and I figured out I could wear it either long or short (wrap it twice)
I have some (handmade) flower pins that I might put on to accent whatever outfit I'm wearing that day.  I love it!  I want to try some of the other various Tshirt scarves I've found on Pinterest, thrift store here I come!!!

2.08.2013

Valentine's Day Cards

So now that I have a 19 month old I've been wanting to introduce a lot more crafts and I'm finding myself more interested in holidays which is very unlike my old, pre-baby self.  This year for Valentine's day I knew I wanted to make a personalized Valentine for immediate family and close friends.  So with the help of Pinterest (follow my boards here: Amy Hendrickson )
 
I had seen this pin:
(Link here to original project)
 
I had some notecards in my printer paper stash and since his hands are so little yet I was able to fit them on there.  Plus we had nontoxic, washable finger paints (Crayola) already. I put him in his highchair without a shirt and we practiced on a few pieces of paper first.  He loved it...it got messy but thankfully it was completely washable.
 
And yes he did try eating it...BUT this was a super fun and surprisingly quick project.  We made 8 cards.  I embellished with some stamps and wrote a quick note on the inside signed with Gabe's name.
 
I kind of found a quick system of painting his hands instead of dipping them (he would try to pick up the paint ending in a huge glob on his hand) and then pressing his hand down and doing it all over again.  I only did one hand at a time so both weren't messy.  We will be using finger paints and hand print pictures a lot I think as he loved it!
 
Here's our finished project!
 
I really love how they turned out!!
 
Happy Valentine's Day!
 
(all of my photos are taken on Instagram, follow me on there as well!)


I'm Back!

Well I've been absent from my blog for almost a year and a half!  Sorry bout that folks but I've been trying to get a few things together in my every day life BUT I'm back and my goal this year is to blog more frequently.  Since I have also taken a hiatus from selling my items on Etsy I'm planning on centering my blog posts around the following topics:
  • Motherhood (since I have a lot of mama friends and fans out there)
  • Being a wife (I have been actively working on my marriage over the last year to make it stronger)
  • Cooking/organizing/house things (pinterest, need I say more)
  • Crafts (because I'm still a crafter at heart)
  • Money/budgets/saving/etc (because we all hate this topic but it's a part of  everyone's life!)
So with that being said I hope you continue to follow my posts, if there is a topic you would love me to write about or review or anything please email me at sallystitches31@gmail.com also please share my blog with all your friends and family if you would like to. 
 
xoxo

9.14.2011

Getting Ready for "The Big One"

Crafting blog!!  LOL So I am doing my very first craft show in about 7.5 weeks!! OMG!  I have about a million things on my mind!  This is supposedly a pretty big show for this area.  It is held over opening hunting season so all the wives come to this craft show supposedly.  I am sharing the booth with a fellow WAHM to cut costs so her and I have been talking about everything and trying to get everything organized.

My biggest fear is that I will run out of items.  Since all my things are crocheted it takes me a while to make them, especially now with a newborn!  AND with going back to work at my day job (even though it is super part time) So instead of saying I'm going to make X amount of headbands or hats or whatever I'm pretty much just going to craft in any little free time I have and then take custom orders if I run out.

I am planning on bringing my Interchangeable hats and headbands.


My cupcake and donut pincushions.


Hair bows and possibly flowers if I can get some made!


And then I do plan on having my doily name banners available for show and then take some custom orders.

So I have 7 weeks to make as much as I possibly can, along with orders and I have 2 giveaways on some blogs coming up this next week or two!!!  Oh boy,  I hope I survive!!!

P.S. if you would like to purchase anything you see above just visit my Etsy shop or email me at sallystitches31@yahoo.com

Meal 7 - Buffalo Chicken Calzones

So I made these at the same time I made the BBQ Beef Cups.  These were SOOOO easy!!  Since it made about 8 calzones I froze them for a quick meal.  Ok so on to the recipe!

Once again I got my recipe from the Once a Month Mom website....I promise I'm not addicted...ok maybe I am!  She just posted a recipe today that I have been looking for for about a year!!!!  Sooooooooo excited for it!
Ok on to this one though :) The Buffalo Chicken Calzones are oh so yummy....

Ingredients:

  • 0.5 cups ranch dressing
  • 3 Tablespoons hot sauce (or your favorite buffalo wing sauce)
  • 1.33 cups celery, diced
  • 1 cup Mozzarella cheese
  • 1/2 batch of homemade pizza dough (or 2 cans refrigerated pizza dough)
  • 4 Tablespoons olive oil
  • 1 teaspoon garlic powder
  • .25 cups Parmesan cheese

Directions:

If making your own pizza dough, mix and allow to rise. When pizza dough is ready, roll into a 2 14×17 sheets (approximately). Preheat oven to 450 degrees. Cut into fourths with a pizza cutter. In a medium bowl mix together chicken, ranch dressing, hot sauce, celery and Mozzarella. Place chicken filling on each of the 8 squares of dough. Fold the dough over and pinch/seal the ends.
Place calzones on a cookie or baking sheet and brush with olive oil. Sprinkle with garlic powder and Parmesan cheese. Place in preheated oven for 15-20 minutes or until baked and golden brown. Remove and serve.

Freezing Directions:

Follow all directions above including baking. Set aside to cool or flash freeze. Place in gallon size freezer bags and freeze. To serve: Remove and reheat in microwave for 1-2 minutes or in oven for 10 minutes. Serve.

So I ended up using canned chicken for convenience.  I used about 2 large cans worth, but I measured it in a measuring cup.  And then I didn't have mozz. cheese so I used colby jack and it tasted just fine. 

I mixed all the 'innerds' together:

Then I just used canned pizza dough, rolled it out, and cut it into 4 sections.  I plopped some mixture into each section.  I do kind of wish I would have rolled out both cans and did the insides all at once because my first batch wasn't stuffed as much as I could've done and my second batch was almost over stuffed because I had to use up the chicken mixture. 

Then you just fold corner to corner and make a triangle.  I then rolled and pinched the ends shut.  Be careful not to tear the dough!


Then you just bake!!!  Super dooper easy and they look kind of fancy!


We froze em and just warm em up in the microwave.  I dip mine in ranch and it is sooo yummy!!!  I will definitely be trying different fillings now that I know how easy it is to make calzones!!

9.12.2011

Meal 6 - BBQ Beef Cups

So I promise I didn't fall off the face of the Earth!  I didn't cook anything for a couple days last week due to work and other things.  We had a rummage sale last weekend so my week last week was nutso!  I did get some cooking in over the weekend though and we found a couple new recipes that will be used again!  I made Barbecue Beef Cups for lunch on Friday and it just so happens they are the featured recipe today on www.allrecipes.com  They were super quick and easy and we gobbled them up!  My husband has requested these again already!! 

Ingredients: (I had started to brown the meat and almost forgot to take a picture!)

Ingredients

  • 3/4 pound lean ground beef
  • 1/2 cup barbecue sauce
  • 1 tablespoon dried minced onion
  • 1 (12 ounce) package refrigerated biscuit dough
  • 1/3 cup shredded Cheddar cheese

Directions

  1. Preheat oven to 350 degrees F (175 degrees C). Grease the cups of a muffin pan.
  2. In a large heavy skillet over medium heat, cook beef until evenly brown. Drain excess fat. Stir in barbecue sauce and dried onion. Simmer for a few minutes over low heat.
  3. Flatten each biscuit, and press into cups of the prepared muffin pan. Make sure the dough comes to the top of the pan. Spoon a portion of the meat mixture into each dough cup.
  4. Bake in preheated oven for 12 minutes. Sprinkle with cheese, and bake for 3 more minutes.
I obviously used dried onion once again instead of a real onion.  The biscuits were kind of hard to form in the cupcake pan, I may try jumbo biscuits next time.  And then I didn't measure the BBQ sauce when I added it to the meat.  I just eyeballed it cause I wanted them pretty saucy.  I'd say it was probably closer to 3/4 cup. 

Before cooking:

After cooking:

YUM!!  I may try taco cups next time by adding taco seasoning to the meat and using Mexican cheese.  Topping with sour cream and salsa maybe...


9.05.2011

Meal 5 - Jalapeno Beef and Corn Bread Pie

So before I write about tonight's dinner I just wanted to say how I can't believe the response I've received from friends that are reading my blog and trying out these recipes.  It's so awesome that I'm able to bring a little cooking to their homes!  This started out as a challenge for myself and my husband on a mission to eat out less and me hone in on my cooking skills and it's turning out to be something awesome for my friends to read and try as well!

On that note dinner ALMOST didn't happen tonight!  I forgot to take the ground beef out of the freezer to thaw until about 15 minutes before I was gonna start dinner! Crap!  So I do have this really awesome kitchen gadget that is like a cast iron plate of some sort, I honestly don't know what it's made out of or how it works but it defrosts food faster and so I threw the meat on there for a little but and then just fried it halfway frozen!  Ooops!

So tonight's recipe was Jalapeno Beef and Corn Bread Pie.  I got the recipe from those recipe cards you receive in the mail and they want you to sign up for them to come every month or so and then charge you oodles of money until you quit.  Yup well I did that many many moons ago and decided to dig through them for some recipes.  I did find the recipe online as well but I changed a couple things around of course.

Ingredients

  • 1 pound ground beef
  • 1 cup yellow cornmeal
  • 1 cup milk
  • 2 eggs
  • 1/2 teaspoon baking soda
  • 1 tablespoon melted shortening or bacon drippings
  • 1 (8-ounce) can creamed corn
  • 3/4 teaspoon salt
  • 1 large onion, grated
  • 1 pound sharp Cheddar cheese, shredded
  • 5 canned jalapeƱos, chopped

Directions

  • 1. Preheat oven to 350°F. Heat a medium skillet over medium-high heat; add beef. Cook, stirring continually, until browned and crumbly, about 5 minutes; drain.
  • 2. Grease a 10-inch ovenproof skillet or baking pan. Combine cornmeal, milk, eggs, baking soda, shortening, corn and salt in a large bowl.
  • 3. Spoon half the corn bread batter into prepared skillet. Spread beef over batter. Top with onion, Cheddar and jalapeƱos.
  • 4. Spread remaining corn bread batter over filling, covering completely. Bake until browned on top and cheese is melted, about 50 minutes.
Here's all my ingredients:
Once again I used dried onion flakes instead of an onion because we don't eat onion much AND the smell of em seriously makes me vomit!  And then instead of using cheddar cheese and jalapenos I decided to use pepper jack cheese!  Yum!
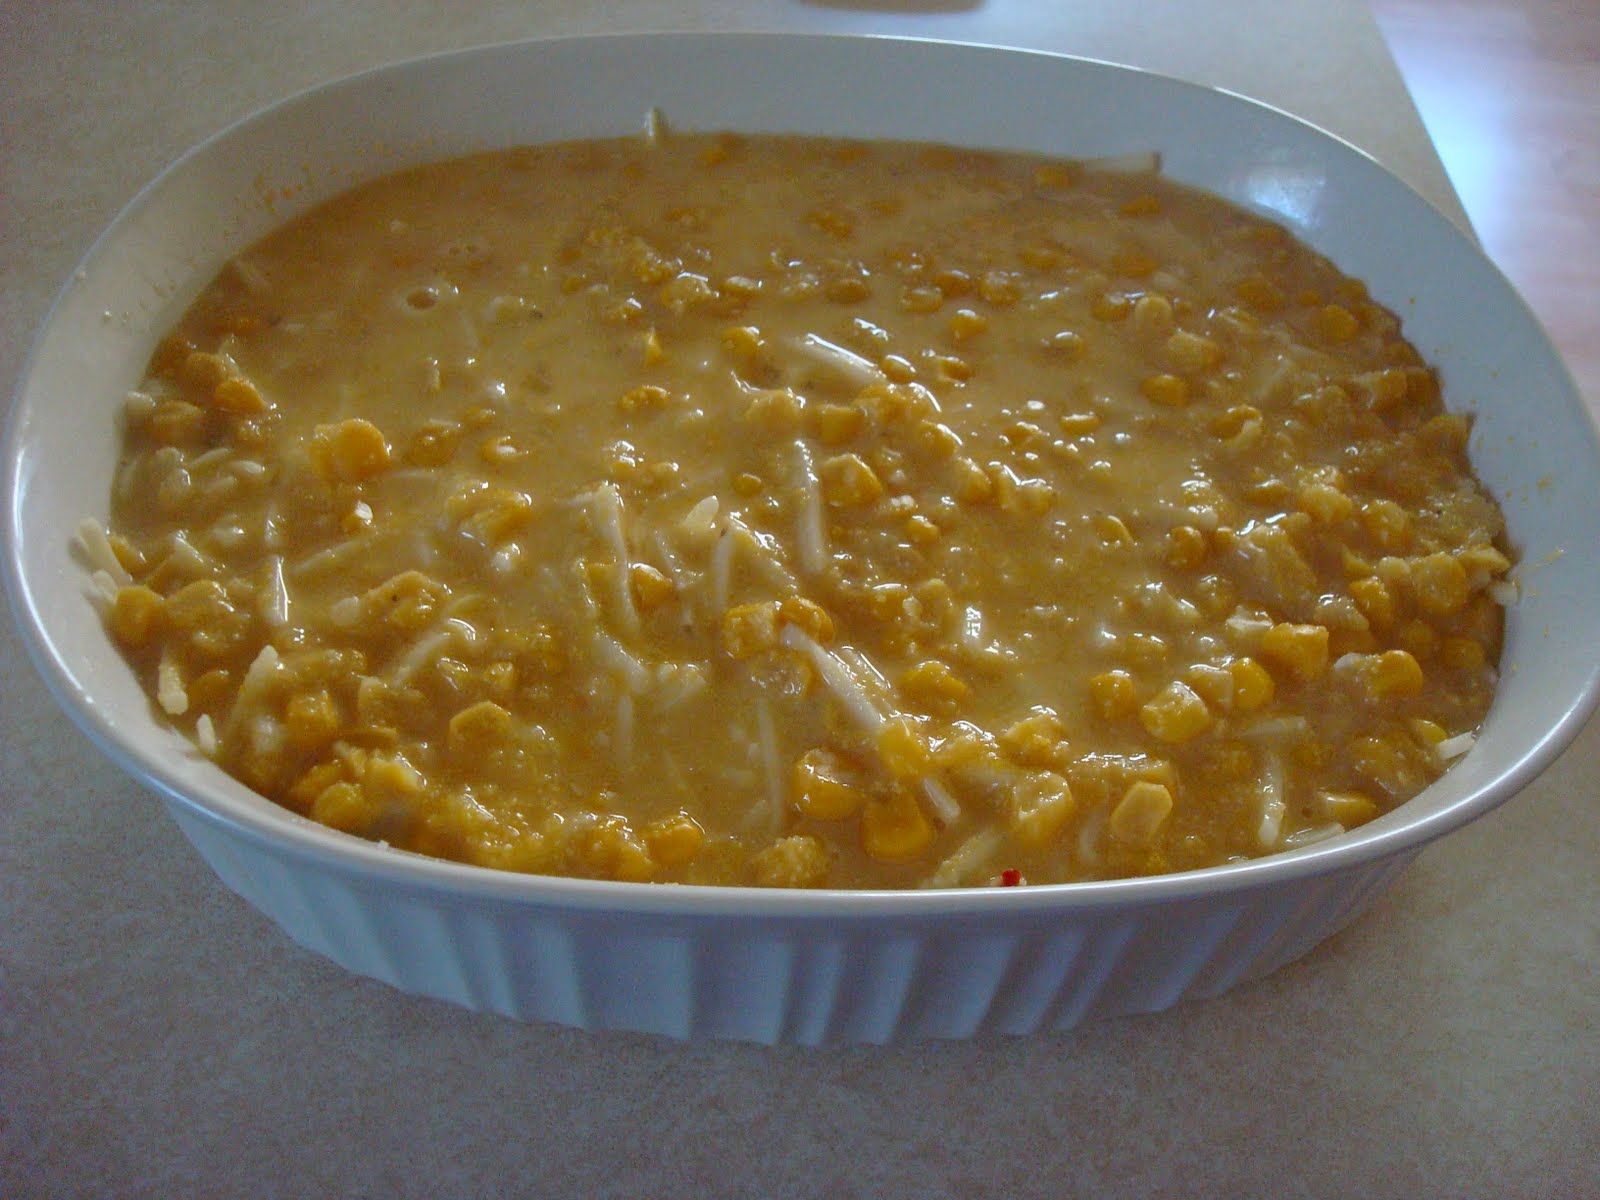
So I took some prep pictures but they didn't really turn out unfortunately.  But you just layer half the cornbread mixture in the bottom of a dish (I think mine was a 1.5 qt?) and I did spray with cooking spray and then sprinkle loose corn meal on the bottom.  Then layer the beef which I browned with onion flakes, salt and pepper.  Then I used about a cup or so of cheese, just until the beef was covered.  And then the rest of the cornbread mixture on top.  Now for some reason in the recipe it says to only use 8oz of creamed corn....yeah I dumped in the whole can!  What the heck am I gonna do with half a can of creamed corn?! 
Right before putting in the oven:
And out of the oven:
And it did taste as good as it looks...I am a corn bread-aholic so anything with cornbread to me is awesome.  The meat was a different kind of texture and then the pepperjack cheese added just the right spicy flavor!  We also drizzled honey on top of our pieces which was perfect, a little sweet with the spicy! 
Yum!