Pages

Banner

Banner
Showing posts with label cooking. Show all posts

2.17.2013

Menu Plan 2/17/13

I haven't been able to make a menu plan for quite a while since we separated and I'm mostly living at my parents house right now but we did one this paycheck because I've been spending more and more time here and it's just always a money saver for us to have meals ready.  And I miss cooking a lot!  So I made our plan for two weeks (I only picked 6 meals and a dessert since I won't be here every night and leftovers usually happen for us) made our shopping list and we went grocery shopping.  Always stressful.  But all in all we got quite a bit for a decent price.
 
How I go about picking recipes is I will look through the grocery ad (we like to shop mostly at one grocery store) and then scour Pinterest and past recipes we've used and try to pick stuff that is on sale or that we can use out of our pantry/freezer.  I then make a huge master list of all the ingredients needed for every recipe organized by category (meat, dairy, frozen, etc) THEN I go through our cupboards and freezer to mark off what we already have.  Finally I make our master grocery list with what we need along with other items we may get (snacks, breakfast foods, etc)
 
It makes me feel so much more organized when we get to the store.  I know what aisles I need to go down and know what I need to get and we rarely if ever get anything not on our list because we know the foods we're buying we can make meals out of.  It cuts down on stress sooooo much!
 
I don't necessarily plan meals for certain days as some days you just don't feel like what's on the menu but I do know I have ingredients in our house for at least 6 homemade meals and a dessert that will last us most of the week.  Which also cuts down on unnecessary grocery trips throughout the week which also can add up money wise.  So with that said here's my menu for the next couple weeks with links!
 
 
Follow my Menu Plan Monday list on Pinterest to see past recipes I've used as well!

9.14.2011

Meal 7 - Buffalo Chicken Calzones

So I made these at the same time I made the BBQ Beef Cups.  These were SOOOO easy!!  Since it made about 8 calzones I froze them for a quick meal.  Ok so on to the recipe!

Once again I got my recipe from the Once a Month Mom website....I promise I'm not addicted...ok maybe I am!  She just posted a recipe today that I have been looking for for about a year!!!!  Sooooooooo excited for it!
Ok on to this one though :) The Buffalo Chicken Calzones are oh so yummy....

Ingredients:

  • 0.5 cups ranch dressing
  • 3 Tablespoons hot sauce (or your favorite buffalo wing sauce)
  • 1.33 cups celery, diced
  • 1 cup Mozzarella cheese
  • 1/2 batch of homemade pizza dough (or 2 cans refrigerated pizza dough)
  • 4 Tablespoons olive oil
  • 1 teaspoon garlic powder
  • .25 cups Parmesan cheese

Directions:

If making your own pizza dough, mix and allow to rise. When pizza dough is ready, roll into a 2 14×17 sheets (approximately). Preheat oven to 450 degrees. Cut into fourths with a pizza cutter. In a medium bowl mix together chicken, ranch dressing, hot sauce, celery and Mozzarella. Place chicken filling on each of the 8 squares of dough. Fold the dough over and pinch/seal the ends.
Place calzones on a cookie or baking sheet and brush with olive oil. Sprinkle with garlic powder and Parmesan cheese. Place in preheated oven for 15-20 minutes or until baked and golden brown. Remove and serve.

Freezing Directions:

Follow all directions above including baking. Set aside to cool or flash freeze. Place in gallon size freezer bags and freeze. To serve: Remove and reheat in microwave for 1-2 minutes or in oven for 10 minutes. Serve.

So I ended up using canned chicken for convenience.  I used about 2 large cans worth, but I measured it in a measuring cup.  And then I didn't have mozz. cheese so I used colby jack and it tasted just fine. 

I mixed all the 'innerds' together:

Then I just used canned pizza dough, rolled it out, and cut it into 4 sections.  I plopped some mixture into each section.  I do kind of wish I would have rolled out both cans and did the insides all at once because my first batch wasn't stuffed as much as I could've done and my second batch was almost over stuffed because I had to use up the chicken mixture. 

Then you just fold corner to corner and make a triangle.  I then rolled and pinched the ends shut.  Be careful not to tear the dough!


Then you just bake!!!  Super dooper easy and they look kind of fancy!


We froze em and just warm em up in the microwave.  I dip mine in ranch and it is sooo yummy!!!  I will definitely be trying different fillings now that I know how easy it is to make calzones!!

9.12.2011

Meal 6 - BBQ Beef Cups

So I promise I didn't fall off the face of the Earth!  I didn't cook anything for a couple days last week due to work and other things.  We had a rummage sale last weekend so my week last week was nutso!  I did get some cooking in over the weekend though and we found a couple new recipes that will be used again!  I made Barbecue Beef Cups for lunch on Friday and it just so happens they are the featured recipe today on www.allrecipes.com  They were super quick and easy and we gobbled them up!  My husband has requested these again already!! 

Ingredients: (I had started to brown the meat and almost forgot to take a picture!)

Ingredients

  • 3/4 pound lean ground beef
  • 1/2 cup barbecue sauce
  • 1 tablespoon dried minced onion
  • 1 (12 ounce) package refrigerated biscuit dough
  • 1/3 cup shredded Cheddar cheese

Directions

  1. Preheat oven to 350 degrees F (175 degrees C). Grease the cups of a muffin pan.
  2. In a large heavy skillet over medium heat, cook beef until evenly brown. Drain excess fat. Stir in barbecue sauce and dried onion. Simmer for a few minutes over low heat.
  3. Flatten each biscuit, and press into cups of the prepared muffin pan. Make sure the dough comes to the top of the pan. Spoon a portion of the meat mixture into each dough cup.
  4. Bake in preheated oven for 12 minutes. Sprinkle with cheese, and bake for 3 more minutes.
I obviously used dried onion once again instead of a real onion.  The biscuits were kind of hard to form in the cupcake pan, I may try jumbo biscuits next time.  And then I didn't measure the BBQ sauce when I added it to the meat.  I just eyeballed it cause I wanted them pretty saucy.  I'd say it was probably closer to 3/4 cup. 

Before cooking:

After cooking:

YUM!!  I may try taco cups next time by adding taco seasoning to the meat and using Mexican cheese.  Topping with sour cream and salsa maybe...


9.05.2011

Meal 5 - Jalapeno Beef and Corn Bread Pie

So before I write about tonight's dinner I just wanted to say how I can't believe the response I've received from friends that are reading my blog and trying out these recipes.  It's so awesome that I'm able to bring a little cooking to their homes!  This started out as a challenge for myself and my husband on a mission to eat out less and me hone in on my cooking skills and it's turning out to be something awesome for my friends to read and try as well!

On that note dinner ALMOST didn't happen tonight!  I forgot to take the ground beef out of the freezer to thaw until about 15 minutes before I was gonna start dinner! Crap!  So I do have this really awesome kitchen gadget that is like a cast iron plate of some sort, I honestly don't know what it's made out of or how it works but it defrosts food faster and so I threw the meat on there for a little but and then just fried it halfway frozen!  Ooops!

So tonight's recipe was Jalapeno Beef and Corn Bread Pie.  I got the recipe from those recipe cards you receive in the mail and they want you to sign up for them to come every month or so and then charge you oodles of money until you quit.  Yup well I did that many many moons ago and decided to dig through them for some recipes.  I did find the recipe online as well but I changed a couple things around of course.

Ingredients

  • 1 pound ground beef
  • 1 cup yellow cornmeal
  • 1 cup milk
  • 2 eggs
  • 1/2 teaspoon baking soda
  • 1 tablespoon melted shortening or bacon drippings
  • 1 (8-ounce) can creamed corn
  • 3/4 teaspoon salt
  • 1 large onion, grated
  • 1 pound sharp Cheddar cheese, shredded
  • 5 canned jalapeƱos, chopped

Directions

  • 1. Preheat oven to 350°F. Heat a medium skillet over medium-high heat; add beef. Cook, stirring continually, until browned and crumbly, about 5 minutes; drain.
  • 2. Grease a 10-inch ovenproof skillet or baking pan. Combine cornmeal, milk, eggs, baking soda, shortening, corn and salt in a large bowl.
  • 3. Spoon half the corn bread batter into prepared skillet. Spread beef over batter. Top with onion, Cheddar and jalapeƱos.
  • 4. Spread remaining corn bread batter over filling, covering completely. Bake until browned on top and cheese is melted, about 50 minutes.
Here's all my ingredients:
Once again I used dried onion flakes instead of an onion because we don't eat onion much AND the smell of em seriously makes me vomit!  And then instead of using cheddar cheese and jalapenos I decided to use pepper jack cheese!  Yum!
So I took some prep pictures but they didn't really turn out unfortunately.  But you just layer half the cornbread mixture in the bottom of a dish (I think mine was a 1.5 qt?) and I did spray with cooking spray and then sprinkle loose corn meal on the bottom.  Then layer the beef which I browned with onion flakes, salt and pepper.  Then I used about a cup or so of cheese, just until the beef was covered.  And then the rest of the cornbread mixture on top.  Now for some reason in the recipe it says to only use 8oz of creamed corn....yeah I dumped in the whole can!  What the heck am I gonna do with half a can of creamed corn?! 
Right before putting in the oven:
And out of the oven:
And it did taste as good as it looks...I am a corn bread-aholic so anything with cornbread to me is awesome.  The meat was a different kind of texture and then the pepperjack cheese added just the right spicy flavor!  We also drizzled honey on top of our pieces which was perfect, a little sweet with the spicy! 
Yum!

9.04.2011

Meal 4 - Slow Cooker Beef Stroganoff

Yummm this is one of my favorite recipes.  It's good comfort food for us in this house.  And I'm a sucker for a slow cooker meal!  This recipe comes initially from one of my FAVORITE recipe websites, http://www.allrecipes.com/
Here is the link to the actual recipe: Slow Cooker Beef Stroganoff
And then these are some of my modifications I make:
  • Use 2 cans of Golden Mushroom Soup, more sauce and make sure to use the Golden Mushroom, the flavor is just right for this recipe.
  • Add a beef bullion cube
  • Add a spoonful of sour cream
  • I use dried chopped onions opposed to an actual onion as neither of us are big on onion flavor
  • I saute mushrooms about a half hour before it's done and add them in.
  • Cut the time to only about 5-6 hours at the max on low heat
So here are all my ingredients:
I put the meat, soup, Worcestershire, dried onions, bullion cube, cream cheese and sour cream all in my slow cooker.  I used a 4 quart size and it was just fine.

I would check on it occasionally, unfortunately after only probably about 3 or 4 hours it was boiling and starting to burn in my crockpot so watch it carefully!!!  I actually just turned it down to warm and left the cover slightly ajar to cool it a little while I sauteed the mushrooms.
Mmmm how I love sauteed mushrooms...I can practically smell them!!!  Once those were done I just mixed them in with the rest of the stuff.

Then right before we were gonna eat I made the egg noodles to serve with it.  I made about half a bag whatever that is! LOL I boiled them for only about 5 minutes so they didn't get too mushy.  I then just dumped them in the slow cooker.  Sometimes I leave them so people can dish their own noodles and sauce but then you always run out of one or the other!
I mixed them around and did put the cover back on just for a couple minutes for the noodles to soak up some of the sauce!  Yum!
Then we scooped it into bowls and put another dollop of sour cream on top. 


We gobble this stuff up.  My hubby and I are suckers for mushrooms (as you're probably finding out!) and you can't get better than some good hearty food!
We had a ton left over, we both wanted seconds but were stuffed after our first helping.  So we now have enough for lunch tomorrow and then some!

This will always be a go to recipe for us, it's nice on a chilly night which tonight was!  Fall is coming fast!  I hope you try out this super easy, yummy meal!!

Meal 3 - Fake Em Out Ravioli Lasagna

So this was actually last night's dinner, I just didn't have a chance to write about it yesterday.  So I ended up making a lazy mans lasagna.  I got the recipe out of my Campbell's Cooking Companion cookbook which I must say  has a ton of good recipes in it!  So I decided to make the 'Fake Em Out Ravioli Lasagna. 

There's only a handful of ingredients...pasta sauce, ravioli, and cheese.

Ingredients

Serves: 6
  • Vegetable cooking spray
  • 1 (25.6 ounce) jar Prego(R) Italian Sausage & Garlic Italian Sauce
  • 1/2 cup water
  • 1 (30 ounce) package frozen regular size cheese-filled ravioli
  • 1 1/2 cups shredded mozzarella cheese
  • 2 tablespoons Grated Parmesan cheese for garnish
  • 2 tablespoons Chopped fresh parsley for garnish

Preparation method

Prep: 10 mins | Cook: 55 mins
1.
Heat oven to 375 degrees F. Spray 13 x 9 x 2 inch baking dish with cooking spray.
2.
Stir sauce and water in large bowl. Spread 1 cup sauce mixture in baking dish. Top with 1/2 the ravioli, 3/4 cup mozzarella cheese and 1 cup sauce mixture. Top with remaining ravioli and sauce mixture. Cover baking dish.
3.
Bake 35 minutes or until mixture is hot and bubbling. Uncover baking dish. Sprinkle with remaining mozzarella cheese.
4.
Bake 10 minutes or until cheese is melted. Let stand 10 minutes. Garnish with Parmesan cheese and parsley.

I used whatever pasta sauce I wanted.  The prep on this seriously took me like 5 minutes!  I found the best way to do the sauce since you mix it with water was I took a large (4 cup I believe) pyrex measuring cup and put the water in first and then mixed in the sauce.  Then when it says to pour 1 cup of sauce on the bottom of the pan it's super dooper easy to measure out!
I arranged the raviolis all nice and pretty :)
Then you just layer it like the recipe says.
Don't forget to put the foil on the pan!  I had put it in the oven and then re-read the recipe and had to quick take it out and cover it.  Then this is the yumminess that became dinner!
I then just made some quick garlic bread while this sat for 10 minutes.  Now my hubby said it was just ok, he's not a fan of red pasta sauce so I'm assuming that's what the main problem was as I thought it was good.  Nothing too exciting about it but it's tasty.  We both had seconds!  And it heated up nicely the next day for lunch!!

So all in all maybe not my best recipe so far but it was fast, easy and tasty!

9.02.2011

Meal 2 - Shepherd's Pie

So tonight I picked this Shepherd's Pie recipe once again from the Once a Month Mom website (I promise not EVERY recipe is from there! LOL)  Super easy recipe, would've been even easier if I would've used instant potatoes but I love homemade mashed potatoes!

Here's all my ingredients and the recipe:

Ingredients:

  • 1  pound ground beef, browned
  • 1 can (10.5 ounces) cream of chicken or mushroom soup
  • 12 ounces frozen corn (or other veggie of your choice)
  • 1 teaspoon salt
  • 0.5 teaspoon pepper
  • 0.5 teaspoon garlic powder
  • 0.5 teaspoon onion powder
  • 2 cups mashed potatoes
  • 0.5-1 cup shredded cheese (optional)

Directions:

Mix browned meat with soup; season with salt, pepper, garlic power and onion powder–or other seasonings to taste. Layer meat mixture in the bottom of an 8×8 baking dish. Top with veggies. Prepare mashed potatoes according to package directions (if using instant). Spoon potatoes on top of veggies. Sprinkle potatoes with cheese (if using). Bake at 350F for 20-30 minutes or until heated through and top of potatoes are slightly golden brown and cheese is bubbly.


So I started out by browning my meat and boiling my potatoes.  I used about 10 small to medium sized russet potatoes (which was wayyy more than enough) and peeled them and chopped them to boil. 
I actually had used the pan to saute mushrooms first to throw in the freezer so it still had the mushroom juice left in it before I added the meat.  YUM! hahaha
Then I mixed the browned meat with 1 can of cream of mushroom soup and I decided to add in a small can of mushrooms cause we love them so much!!   I put it in an ungreased 8x8 pan.
I then took the corn I cut off our corn on the cobs last night and froze and put it on there.  I probably could've put more from another bag of corn but decided against it since we had the mushrooms.
Then my massive amount of mashed potatoes:
Then I just layered the potatoes on top and covered in cheddar cheese!!  Threw it in the oven at 350 degrees for about 20 minutes.
And voila!
Yummy Yummy Yummy!
My husband pointed out that it's just like my tater tot hotdish (coming later in the month) which it actually is except with mashed potatoes instead of tots and mushrooms instead of green beans! LOL
But it was very tasty, I thought the garlic powder was kind of strong in taste but my hubby thought it was just right.  So I guess just alter the seasonings to your taste.  And I'm sure this would be tasty with any kind of vegetable(s) and with instant potatoes, it's pretty fail-proof!

We did have just a little handful left as we both ended up having seconds, but that will make a good lunch tomorrow!
Happy dinner everyone!

9.01.2011

Meal 1 - Cheese Stuffed Chicken

Alright well it is the first of the month which means my newest endeavor of actually cooking supper every (almost every!) night this month.  I'm doing this to save money as we were spending around $250 every month on eating out!!!  Wayyyyy too much, plus not healthy at all!  So I went through cookbooks and websites to find recipes that sounded good.  Then I assigned one to almost every day this month (I left 4 days without a recipe for times when we might eat out for something special or make a pizza or I'm not home to make dinner.  Then I made my grocery list for the next 2 weeks of menus and went grocery shopping today.  I only spent about $30 more than I usually do!  So on to the meal!

Tonight I made Cheese Stuffed Chicken which I found on one of my absolute favorite websites.  Once a Month Mom.  Which is freezer cooking (see my earlier blog).  But they also have recipes on their website and this one I had bookmarked as soon as I had seen it.  And boy am I glad I did!  It was AMAZING!!!!

All you needed for this recipe was 5 total ingredients...and I only had to purchase one this shopping trip!

Ingredients:

  • 1 pound boneless skinless chicken breasts (mine were frozen and I marinated them while they thawed out)
  • 0.5 cups Lawry’s Seasoned Salt Marinade
  • 8 ounces Pepper Jack Cheese, shredded (I had slices that I had to use up)
  • 1 cup Panko Bread Crumbs
  • 0.5 cups ground french fried onion rings

Directions:

Preheat oven to 400 degrees. Spray a baking pan with cooking spray.  Cut chicken breasts in half lengthwise, basically fillet the breast so that you have to long flat pieces.** Marinate chicken breasts in Lawry’s Seasoned Salt Marinade for 30-90 minutes in a gallon sized zippered bag.  Remove chicken and add shredded cheese. Roll chicken and secure with toothpicks.  Place bread crumbs and ground french fried onion rings in a shallow bowl.  Dip the chicken back in the marinade, then place in the crumbs, coating the chicken evenly. Place the chicken on prepared pan and bake at 400 degrees for about 35 – 40 minutes or until done.
**If you are limited on time you can simply cut a pocket in the chicken breasts and insert cheese instead of rolling.

So like I said I used frozen chicken breasts and they are always so huge so I only used 2.  They marinated in the sauce while they thawed out.  I didn't measure the marinade, just poured in what looked good.  Then I crushed up a handful of french fried onions and it just happened to measure out to 1/2 cup.  Instead of cutting the chicken in half I pounded my chicken.  I just left it in the ziploc bag and pounded it with a meat hammer.  Since my chicken breasts were so large I then cut them lengthwise to make 4 smaller pieces. 
I then laid the pieces of pepperjack cheese on each piece:
Then I rolled each one as best as I could, but I didn't have toothpicks so I just held them tight.  I didn't need to re-dip them in the marinade as they were super wet.  So then I just rolled them in the bread crumb/onion mixture.  I could have easily halved the amount of bread crumbs, I ended up throwing a ton of it out.
Then I placed them all in a greased dish:
Then popped them in the 400 degree oven for 35 minutes.
While they were cooking I shucked and boiled some corn on the cob to eat as well:
I just threw the corn in a pot of boiling water with salt for 10 minutes.  YUM!
Then the final product!!
And yes it was as tasty as it looks!  Mmm I took the pieces with the burned cheese edges and I devoured em!! LOL My husband said the 1st meal was a success!
This recipe is definitely going in the recipe box.  It was super easy and cheap and yummy!  Technically the only item I bought was the french fried onions.  I had chicken in the freezer, cheese in the fridge, breadcrumbs and marinade in the pantry.  And the corn was even free as it was the "free item" at my husband's grocery store this week.  So this meal virtually cost me nothing!! 

I then cut the corn off of the remaining cobs and threw it in the freezer for tomorrow night's meal actually.  Love it!!

This is actually turning out to be more fun than I thought it would be...can't wait for tomorrow!

8.30.2011

The Line-up

So I have spent the last week going through cookbooks, scouring the internet and asking other people to find some recipes for the month of September.  I think I finally have the final line-up!  This would be easier if we weren't such picky eaters.  We don't really eat seafood so there's no fish dishes and my husband doesn't care for weird/healthy ingredients! LOL But it will be good for us to expand our horizons somewhat and I will get to try my hand at making a bunch of different things.  I don't think I'm great at cooking but I can manage. 

I've yet to organize these recipes so that they make sense in a calendar view so I know what to get at the grocery store and stuff.  I plan on making a spreadsheet with all the ingredients so I can kind of use similar ingredients during the same weeks.  Thursday will be my shopping day!  I'm actually kind of excited for this, I hope to stick to it, I found a lot of recipes that sound so yummy.  I only picked out 26 recipes for the month because we may eat out a couple times yet and there's things like frozen pizza or some of the meals I made and froze when I was pregnant.

So here's the line-up in no particular order!!!

Bacon Cheeseburger Chicken
Baked Ziti
BBQ Beef Cups
BBQ Chicken Pizza
Buffalo Chicken Calzones
Cheese Stuffed Chicken
Cheesy Chicken Roll-Ups
Chicken Enchiladas
Creamy Chicken & Wild Rice
Easy Chicken Pot Pie
Fake 'Em Out Ravioli Lasagna
Herb-Simmered Beef Stew
Jalapeno Beef & Corn Bread Pie
Jambalaya
Lasagna Primavera
Pepper Jack Mac & Cheese
Pumpkin Patch Stuffed Shells
Shepherd's Pie
Simple Salisbury Steak
Sloppy Joes
Slow Cooker Beef Stroganoff
Slow Cooker Chicken & Dumplings
Slow Cooker White Chicken Chili
Taco Pasta
Tater Tot Hotdish
Unstuffed Pepper Bake

6.25.2011

Freezer Cooking - Day 1

So I decided to make some meals for the freezer for the last few weeks before this baby comes and for after the baby so that I don't have to worry about cooking and we don't have to go out to eat.  I did this by myself at 8 months pregnant!  Hmm nesting at it's best!  I didn't quite finish but here is my journey.  This is my first real time doing a big batch of cooking.  I got my entire recipe list from this AMAZING blog: Once A Month Mom and I used this menu changing it up just very slightly.

My Menu:
  • My own sloppy joes
So it was 9:00am and I was ready to start they day.  I wore comfy clothes and crocs for my poor feet.  Here's me and 'baby' ready to take on the day!
So I had to start out by putting the chicken for the Garlic Chicken Farfalle and the ingredients for the Buffalo Chicken Sandwiches into crockpots to start cooking.
DONE!

Then I went on to make the Raspberry Breakfast Cake with fresh raspberries, yummmm!
Before and after baking
Then I blended up the Breakfast Popsicles which are just strawberries, bananas, yogurt, milk and vanilla!  I ended up having to use 2 popsicle molds!  I'm so excited to try these, they looked amazing!

Then tragedy struck!  One tip...don't put cooling racks with hot raspberry breakfast cake near edges of the counter :( This happens...

SAD!  I do thankfully have enough ingredients for another one so I will be making another one as it smelled and looked wonderful.  I almost cried as my hubby so helpfully cleaned it up off the floor for me.
Then I went on to make the Bacon Hashbrown Wraps.  I made them on my electric skillet thinking it would be easier and it was but you just get kind of an egg mess if you don't watch it.  I know this picture looks less than appitizing but it did have eggs, hashbrowns and bacon and then was wrapped in tortillas.  I did forget the cheese :( Always read your recipes again before wrapping up and sticking in the freezer!
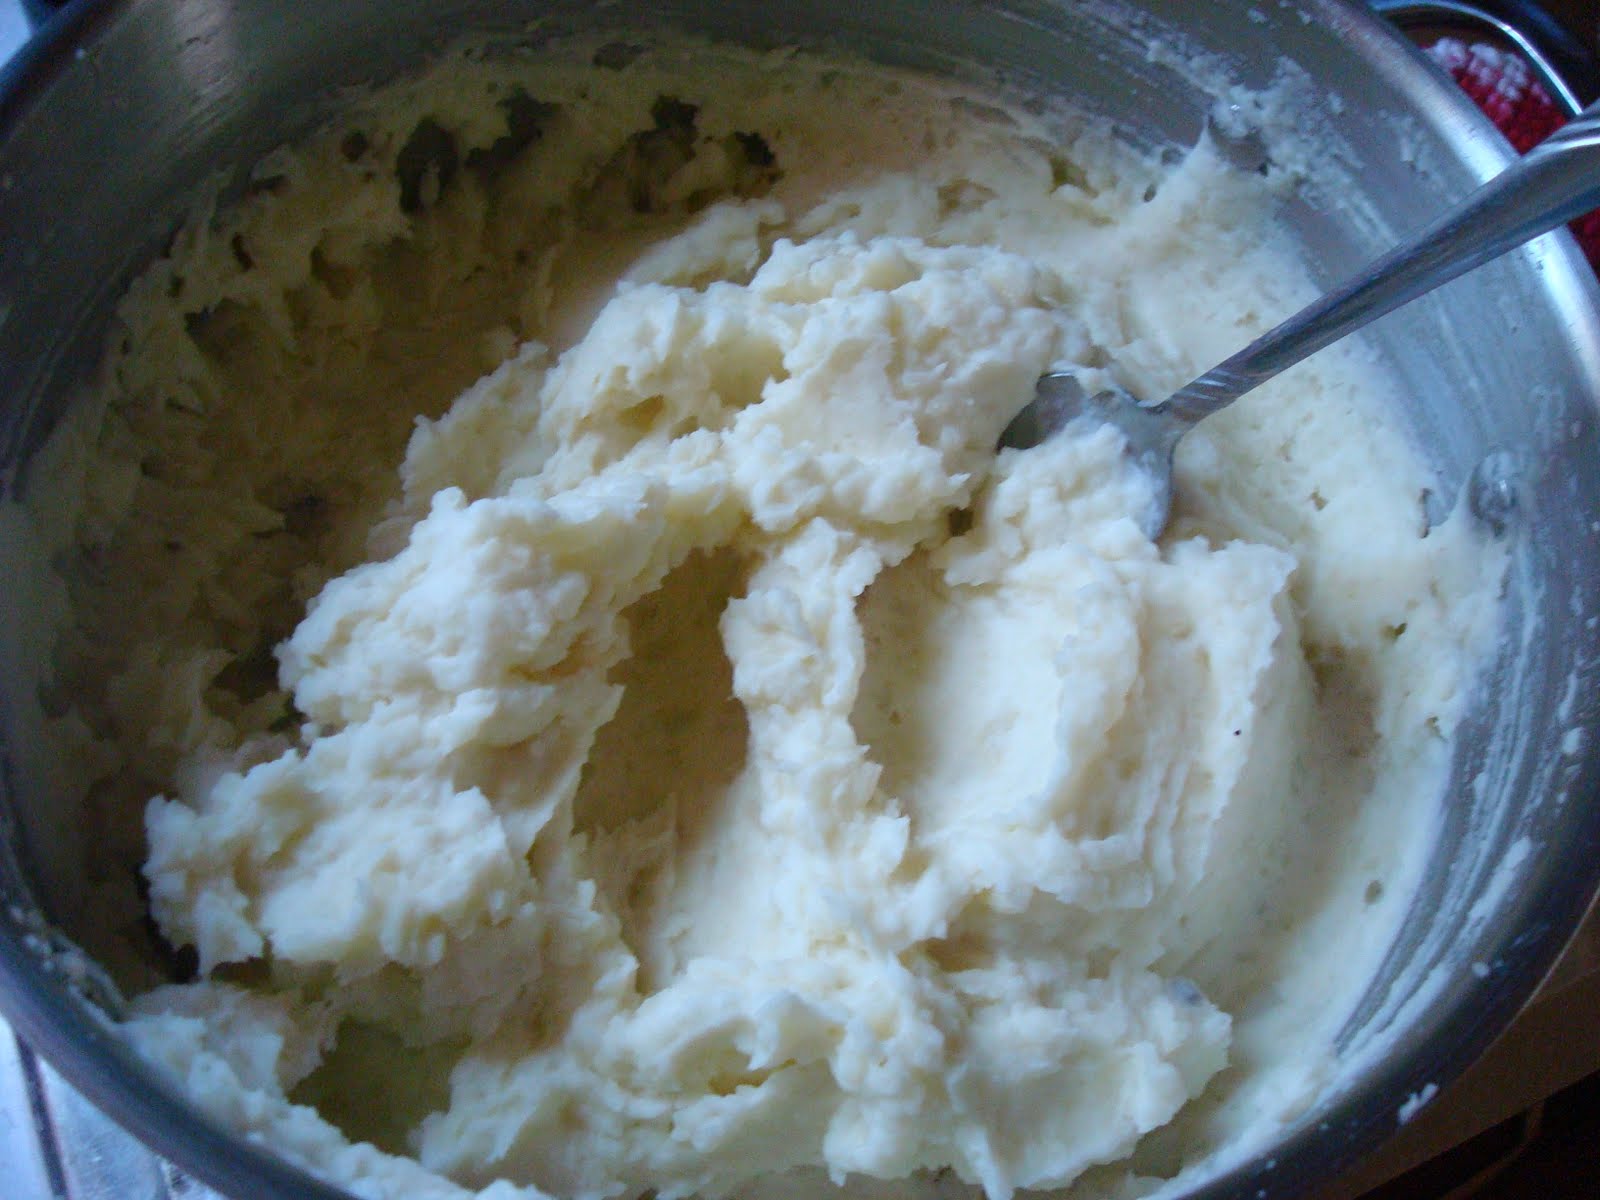
Then I made the Sneaky Stuffed Potatoes.  What makes them sneaky is you steam and mash cauliflower in with the potato mixture.  Ok so I had the tiniest russet potatoes ever known to man to work with and I don't recommend that for anyone!!  I did bake and scoop them the night before to save on time (which I highly recommend as these were still time consuming) but it's terribly difficult and messy with tiny potatoes!  Here they all are already wrapped and bagged ready for the freezer.  The only saran wrap I have is from Christmas so it's red! LOL

Then there was a quick assemble for the Bacon Cheeseburger Chicken.  You just throw everything in the pans, cover and freeze!  Super easy and looked yummy.  Chicken, teriyaki, ranch, cheese and bacon!
I did make the Smoked Sausage Mac & Cheese and it was super easy and I'm super excited to eat it.  I apparently was so excited I forgot to take a picture LOL
Then I made up the filling for the chicken burritos; chicken, beans, and taco seasoning, then topped with cheese and rolled in tortillas.  I love all these individual burritos.  For both these and the breakfast burritos I first wrapped each one in wax paper and then foil, then they were put in ziploc freezer bags and labeled.  I love em cause you just take out one, unwrap it, pop it in the microwave and done!  Here's the filling!
Then I shredded the chicken for the Buffalo Chicken Sandwiches and mixed it back in with everything it had been cooking with for the last 4 hours!  I tasted a bite and it was AMAZING!  I can't wait to eat these either!
At this point it was about 3:00pm and even though I had taken my time with everything and took a lot of breaks I was losing a lot of steam!  My feet and back were killing me and I was getting grumpy.  I thought ok I will just make one more quick one and then finish tomorrow.  So I made up a couple Pita Pizzas.  You just layer your ingredients and then flash freeze (put on a cookie sheet and freeze for about 15-20 mins and then you take out and individually wrap, store, and put in labeled freezer bags.  I only had enough cheese to make 4 but I plan on making more when I get more cheese!  The one in pink/red is wrapped in saran wrap already.
So at this point I called it quits at about 3:30/4:00 and decided to go out to eat with hubby.  Then we got home and I tackled the dishes that were left (I did have a sink full of water and did dishes throughout the day to reuse some and cut down on the end of the day clean up) I was so sore and tired though that it did take me a while to clean up.  But now it's ready for tomorrow and I just have a few more recipes to do. 
  • Garlic Chicken Farfalle
  • Sloppy Joes
  • Ranch Burgers
  • Green Chile Burgers
  • Raspberry Breakfast Cake (take 2)
All in all I feel super accomplished and pooped!  Here's my swollen feet and ankles to prove it!


Come back tomorrow to see how day 2 went and to check out some of my tips to a day of freezer cooking!!!